Wall panelling is enjoying a stylish renaissance in homes across Mornington, Australia—from beachside bungalows to coastal-inspired townhouses. Whether you’re aiming to add texture, character, or a touch of Hamptons elegance, wall panels offer a budget-friendly, DIY-friendly way to revamp your space.
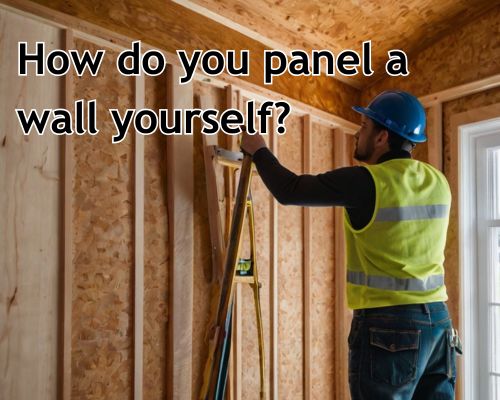
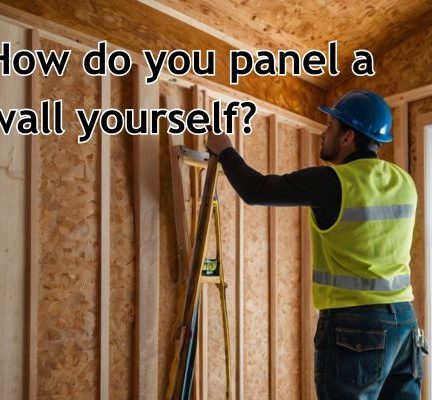
If you’re wondering, “How do you panel a wall yourself?”—you’re in the right place. In this detailed guide, we’ll walk you through everything you need to know: materials, prep work, tools, techniques, and expert tips—tailored for DIYers on the Mornington Peninsula. Plus, we’ll ensure your project stands out in both style and structural integrity, just like a perfectly poured flat white at Main Street café.
Why Wall Panelling is Trending in Mornington
Mornington’s interior design trends are leaning into coastal charm meets modern rustic. Wall panelling—whether it’s shiplap, beadboard, or VJ panelling—enhances natural textures and plays well with the local light. Add to that the rising property values in Mornington and Mount Eliza, and small renovations like this deliver serious bang for your buck.
Local Appeal
In places like Mount Martha, Frankston South, and Somerville, homeowners are turning to DIY panelling to elevate their interiors affordably. Whether you’re selling or styling, wall panelling is a timeless value-add that blends beautifully with the Bayside aesthetic.
What You’ll Need: Materials and Tools
Before you touch a wall, make sure you’ve got the right gear. Here’s your go-to checklist for a typical vertical wall panelling job.
Materials
- Wall panels (MDF, timber, or pre-primed VJ panels)
- Adhesive (liquid nails or construction glue)
- Finishing nails or brad nails
- Wood filler and caulk
- Undercoat and topcoat paint (we recommend low-VOC for health and eco-friendliness)
Tools
- Tape measure
- Spirit level or laser level
- Stud finder
- Nail gun or hammer
- Saw (mitre or circular)
- Sandpaper or electric sander
- Paintbrushes and rollers
🛠️ Local Tip: Bunnings Mornington stocks VJ panels in multiple sizes, and the staff know their stuff. You can also check independent suppliers in Hastings or Dromana for specialty timber options. Visit website for more.
Step-by-Step: How Do You Panel a Wall Yourself?
Let’s get down to the nitty-gritty. Follow these steps to ensure your panelling is flush, firm, and fantastic.
1. Measure Twice, Buy Once
Begin by measuring your wall height and width. Decide whether you want full wall panels or a wainscoting (half-height) look. Consider symmetry—panels should fit evenly across the wall without awkward gaps.
LSI Keywords to Consider: wall panelling dimensions, DIY home renovation, vertical panel spacing.
2. Prep the Wall Surface
Remove nails, screws, and existing fixtures. Fill any holes and sand the surface smooth. If your wall is textured (common in older homes in Mornington), consider applying a thin MDF backing to create an even base.
🧠 Insight: Panelling is only as smooth as your surface. Uneven or flaky plaster can ruin the finished look—especially in Mornington’s humid coastal air.
3. Mark Your Studs and Guidelines
Use a stud finder to locate the timber studs behind the wall. Mark vertical lines with a level to guide panel placement. This helps with secure nailing and ensures your panels align perfectly.
🎯 Pro Tip: In homes along the coast, timber studs can shift slightly over time due to humidity. That’s why precision here matters.
4. Cut and Dry Fit Panels
Using your saw, cut panels to size. Always dry-fit each one before adhesive or nailing—it’s the best way to avoid last-minute disasters. Use spacers (e.g. 5mm wedges) to keep consistent gaps between panels.
🧩 Keyword Boost: DIY wall makeover, cut wall panels, install decorative wall cladding.
5. Apply Adhesive and Fix Panels
Apply construction adhesive to the back of each panel and press it against the wall. Then secure it with nails—either with a brad nailer or a trusty hammer.
🔨 Safety Note: Always wear goggles and a dust mask, especially when cutting MDF, which can release fine particles.
6. Fill, Sand, and Caulk
Use wood filler on nail holes and sand once dry. Fill vertical seams or gaps with paintable caulk for a seamless finish. This step is crucial for making your panelling look professional.
Painting and Finishing Touches
Once the panels are fixed and sanded, it’s time to paint.
- Undercoat: Essential, especially for MDF or raw timber.
- Topcoat: Two coats of durable, low-sheen interior paint. Go for soft whites or coastal greys to match Mornington interiors.
🎨 Style Idea: Pair white panelling with muted blue or sage green walls for that quintessential Mornington Peninsula coastal vibe.
Bonus Tips for Mornington DIYers
Watch the Weather
Humidity can cause timber to expand. Avoid installing panels during extremely wet or hot days—common around January and February in Mornington.
Go Local for Help
If you hit a snag, local handymen or tradies can assist for a partial DIY—such as cutting panels precisely or advising on structural issues in older homes. See https://morningtoncabinetmakers.com.au/ for more.
Consider Sustainable Materials
Eco-conscious locals are leaning into FSC-certified timber or bamboo panelling for a greener approach. Ask for sustainable stock at Mitre 10 in Rosebud or check in with Mornington Recycled Timber.
Common Mistakes to Avoid
- Skipping the level check: Crooked panels = ruined aesthetic.
- Overlooking wall texture: Textured surfaces need proper prep.
- Not leaving expansion gaps: Especially crucial in coastal climates.
- Painting before caulking: Rookie move—paint only after sealing.
Why DIY Wall Panelling Is Worth It
Doing your own wall panelling project in Mornington isn’t just about saving money—it’s about adding value, style, and a personal touch to your home. It’s a beginner-friendly renovation that can transform plain walls into Instagram-worthy backdrops.
And let’s be honest: it feels good to look at a job well done and say, “Yep, I did that.”
Final Thoughts: From Bare to Beautiful
If you’ve been wondering, “How do you panel a wall yourself?”, now you’ve got the full roadmap. With the right tools, a bit of patience, and an eye for detail, you can turn any plain wall into a statement piece—right in the heart of Mornington, Victoria.
Whether you’re prepping a guest room, zhuzhing up a hallway, or revamping your home office, wall panelling offers one of the best ROI renovations for style-savvy locals. And the best part? You don’t need a tradie license to do it right—just the will to wield a nail gun and a weekend to spare.