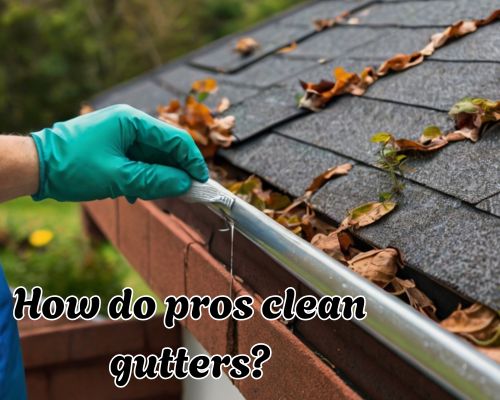
Gutters are often overlooked—until they overflow or clog. Homeowners in West Palm Beach, Florida, know just how crucial a clean, functional gutter system is, especially with the region’s subtropical climate, seasonal rains, and hurricane season threats. When the stakes are high, many turn to professionals to get the job done right. But how do pros clean gutters, exactly? What makes professional gutter cleaning worth it, and what does the process look like from start to finish?
With Mike Owen of Gutters of West Palm Beach, let’s dive into the step-by-step methods used by professional gutter cleaners, the tools they rely on, and why their services are particularly valuable for homeowners in Palm Beach County and other parts of South Florida.
🛠️ What Sets Professional Gutter Cleaning Apart?
Unlike DIY cleaning with a ladder, gloves, and a bucket, professional gutter cleaning involves specialized tools, industry expertise, and a safety-first mindset. Professionals aren’t just cleaning—they’re inspecting, diagnosing, and preventing potential gutter and roofing issues.
In West Palm Beach, where sudden downpours and debris from palm trees, tropical foliage, and nearby coastal winds can wreak havoc on gutters, the professional touch is often essential.
🧰 Tools and Techniques Pros Use to Clean Gutters
Here’s a closer look at the professional gutter cleaning process:
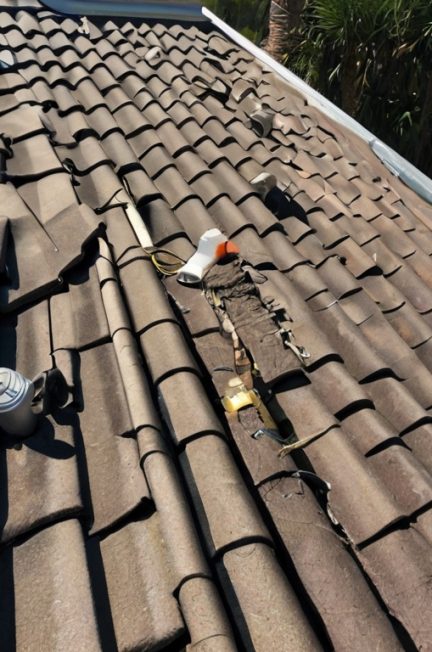
1. Pre-Cleaning Inspection
Before touching a leaf, professionals will conduct a full gutter inspection, looking for:
- Sagging or detached sections
- Rust or corrosion (common in older homes along the Atlantic coast)
- Signs of blockages in downspouts
- Roof edge deterioration
- Insect or rodent nesting
This step is particularly critical in areas like West Palm Beach, where high humidity can accelerate wear and tear.
2. Clearing Debris by Hand or With Scoopers
Manual removal remains a core part of professional service. Gutter cleaning crews will:
- Use gutter scoops or small trowels to remove sludge
- Bag the debris for proper disposal (especially important to prevent yard contamination)
- Carefully avoid damaging shingles or fascia boards
Pros often wear cut-resistant gloves, and in many cases, use ladder stabilizers to prevent roof or gutter damage.
3. High-Powered Blowers and Wet/Dry Vacs
Once the bulk of debris is gone, professionals in Palm Beach County typically use:
- Backpack leaf blowers to clear finer debris
- Wet/dry vacuum systems with special gutter attachments for hard-to-reach clogs
- Gutter flusher wands attached to garden hoses to push out lingering dirt
These tools allow for faster, more thorough cleaning compared to DIY methods.
4. Downspout Flushing and Drainage Check
A critical yet overlooked part of the job is ensuring the downspouts are completely clear. Using a combination of:
- Hose flushing
- Flexible drain snakes
- Pressure nozzles
…pros make sure water flows from the gutters, through the downspouts, and safely away from the foundation—key in West Palm Beach, where flooding risk is a real concern.
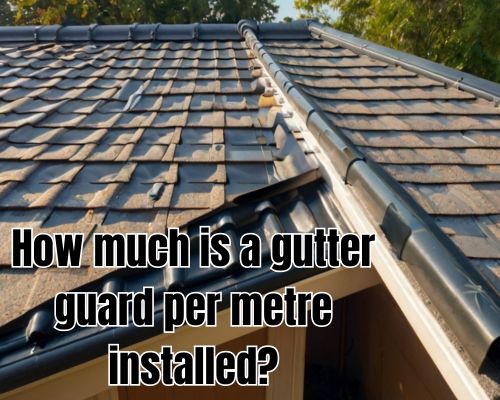
5. Minor Repairs and Gutter Guard Recommendations
Professionals like in Gutters of West Palm Beach often offer on-the-spot repairs, including:
- Refastening loose brackets
- Sealing leaking joints with silicone caulk
- Realigning gutter pitch for better water flow
Many also suggest gutter guard installations to reduce the frequency of future cleanings—especially effective in Florida’s lush neighborhoods like El Cid, Flamingo Park, or Northwood Shores.
🌧️ Why Gutter Cleaning Is Crucial in West Palm Beach
The combination of seasonal tropical storms, constant tree debris, and salt-laden air creates the perfect storm (pun intended) for gutter damage. If left unchecked, clogged gutters in this area can lead to:
- Foundation erosion
- Roof leaks
- Basement flooding
- Pest infestations
- Mold and mildew growth
Homeowners in West Palm Beach’s coastal zones, such as those near Flagler Drive or Lake Worth Lagoon, must be especially vigilant due to higher exposure to storm surges and water runoff.
🧑🔧 How Often Should You Hire a Pro?
Professionals generally recommend biannual gutter cleaning, ideally in:
- Late spring, after pollen and seed fall
- Late fall, following leaf drop and before hurricane season
However, homes surrounded by palm trees, ficus hedges, or flowering jacarandas may need quarterly cleanings. Properties in historic areas like Old Northwood or Grandview Heights often require extra care due to older gutter systems.
💲 Cost of Professional Gutter Cleaning in West Palm Beach
Professional gutter cleaning in West Palm Beach typically ranges between $125 and $300, depending on:
- Home size and height (two-story homes cost more)
- Roof slope and accessibility
- Gutter length and condition
- Presence of gutter guards
Additional costs may apply for gutter guard removal and reinstallation or extensive clog removal in buried drain systems.
Still, the investment is far less than the cost of roof repairs or foundation waterproofing down the line.
✅ Key Benefits of Hiring a Pro
Time savings aside, here’s why hiring a pro in West Palm Beach is worth every penny:
- ✅ Prevents costly water damage
- ✅ Includes roof and gutter system inspection
- ✅ Keeps you off dangerous ladders
- ✅ Extends the lifespan of your gutters
- ✅ Boosts curb appeal—critical in real estate-conscious Florida neighborhoods
🧠 Pro Tips from West Palm Beach Gutter Experts
- Book in Advance: Storm season means gutter pros book out fast—schedule early.
- Bundle Services: Many companies offer roof cleaning, pressure washing, or solar panel cleaning at a discount.
- Request Before & After Photos: A reputable company will show proof of work.
- Ask About Licensing & Insurance: Ensure you’re hiring legitimate local professionals.
Look for top-rated West Palm Beach companies like Gutter Hero of South Florida, Coastal Property Services, or RainAway Gutter Experts, all known for reliability and localized knowledge.
🔚 Final Thoughts: Why the Pros Know Best
So—how do pros clean gutters? The short answer: thoroughly, efficiently, and safely. While DIY can work in a pinch, professional gutter cleaning provides peace of mind—especially in a dynamic environment like West Palm Beach, Florida.
With the right tools, local experience, and safety measures, pros ensure your gutters aren’t just clean but functional and storm-ready—a must in South Florida’s unpredictable weather landscape.