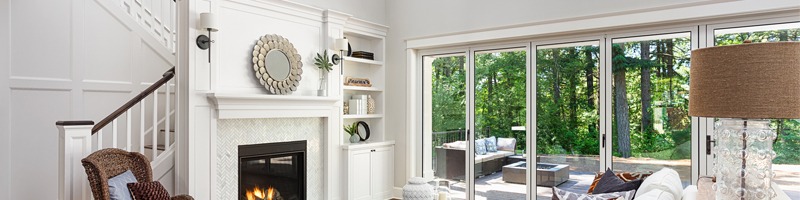
There are few doors as charming as accordion doors. These vertically-folding doors are a favorite of architects and interior designers, and with good reason: they are not only practical, but also look great. Accordion doors are useful for closets and small rooms because they don’t take up much space when closed, but they can be opened to cover a large area. They are great for getting fresh air into an attic or basement, too, and they can be used to separate a room in half without taking up much space.
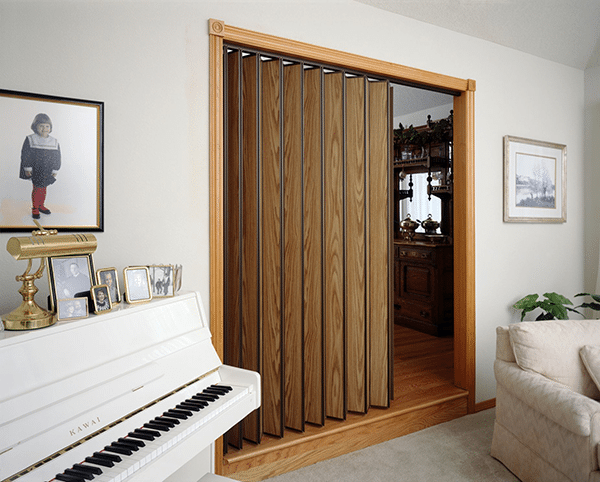
Accordion doors are made of wood (the original accordion door), steel, aluminum, or vinyl and are available in a variety of styles and colors, including multi-panel and sliding — all finely made and expanded upon by companies such as Woodfold accordion doors (SpecialtyDoors.com). The panels are folding or rolling and extend closed or open. They are also available with various locking systems.
Commercial Accordion Doors
Larger accordion doors have many applications in commercial real estate – and there’s even another type of accordion door that serves a very important function for businesses, which we’ll discuss in a moment.
In the meantime, here are a few commercial applications to consider for your accordion door.
- Regulate temperature more effectively
- Keep buildings dry
- Save space
- Save money
- Save energy
- Improve security
- Maintain privacy
- Separate a room
- Provide temporary divisions
- Deaden sound for environments where acoustics are important
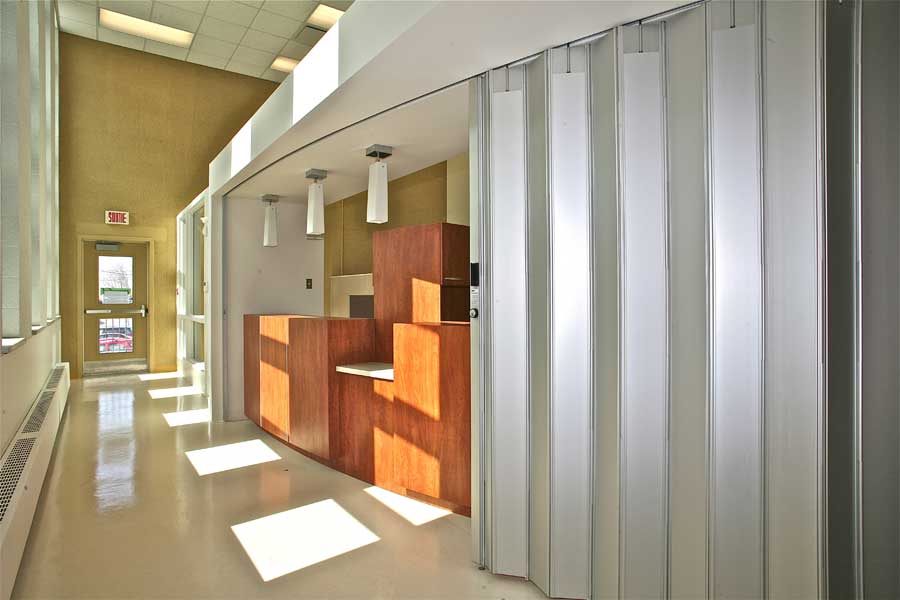
Folding Closures
The accordion door is a popular security door for commercial real estate. Perhaps the greatest thing about the accordion door is that it can be used in so many different ways to achieve the same result: to keep a building secure. Commercial accordion doors are commonly used as fire doors and security doors in hotels, banks, and other businesses.
The most common kind for this application? Folding metal doors.
Ever pass by a retail store in a mall when it’s about to close? How about businesses in the crammed strips of densely populated cities?
When business hours are wrapping up, a folding metal door is a common sight. These special doors maintain security and keep intruders out after-hours.
When your business is in one of these areas, a folding closure is an absolute essential. They come in many different sizes and styles for your unit, depending on the degree of security that needs to be maintained. Some businesses go for doors that secure the store while giving bystanders a clear view, others (such as banks and warehouses) are best matched with doors that block the entire view so no prying eyes can peek.
The important thing is to choose a folding closure that gives an assurance of security, regardless of the kind your store needs. MobilFlex folding doors are state-of-the-art in security, made of tempered aluminum and extremely rugged. Some even serve a dual function as a kind of decor.
The entire range of MobilFlex commercial folding doors is available at https://www.accordion-doors.com/2015/04/29/commercial-accordion-folding-doors-for-security-and-more/.
 If you have electronic cameras, you can likewise choose self-monitoring with video recordings for $3 a month per electronic camera. Installment prices $79, however there`s an extra cost if you want a doorbell electronic camera installed. Just the Structure plan is completely DIY- all other SimpliSafe offerings include DIY or professional arrangement options. Ring Alarm Safety System loads the power of whole-home safety and security into a budget friendly, DIY plan. ADT puts your privacy initially, as well as we do not offer your individual data. Blue by ADT products utilize login failure lockout as well